
Key Takeaways
- Good photography is the single biggest factor in selling art online — it's worth getting right
- Even lighting is everything: two lights at 45-degree angles eliminates glare and hotspots
- Shoot on a neutral background (white or gray), keep the camera parallel to the art, and use a tripod
- Post-processing should correct color accuracy, not enhance or alter the artwork
Whether you're an artist selling your own work, a gallery owner managing inventory, or a collector looking to consign pieces, the quality of your art photography directly impacts your sales. Studies show that listings with professional-quality images sell 32% faster and at prices 17% higher than those with amateur photos. This comprehensive guide will teach you exactly how to photograph framed artwork like a professional—without needing a professional's budget.
In This Article
- Why Art Photography Matters More Than You Think
- Essential Equipment for Art Photography
- Mastering Light: The Foundation of Art Photography
- Eliminating Glare: The Framed Art Challenge
- Color Accuracy: Capturing True Colors
- Background and Staging
- Examples from the Austin Gallery Collection
- Camera Settings for Art Photography
- Post-Processing Essentials
- Creating Consistent Image Sets
- Common Mistakes and How to Avoid Them
- Advanced Techniques
- Building Your Art Photography Kit
- Final Thoughts: Photography as Sales Investment
Why Art Photography Matters More Than You Think
The art market has fundamentally shifted online. According to the 2024 Hiscox Online Art Trade Report, over 87% of art buyers now research purchases online before committing. Your photographs aren't just documentation—they're your primary sales tool.
Poor photography creates several problems:
- Color inaccuracy makes buyers hesitant about what they're actually purchasing
- Glare and reflections obscure details and suggest amateur presentation
- Inconsistent backgrounds undermine your brand and professionalism
- Wrong aspect ratios distort the artwork's proportions
The good news: you don't need expensive equipment to capture stunning art images. With the right technique and a few key tools, you can achieve gallery-quality results.
The good news: you don't need expensive equipment to capture stunning art images.
Essential Equipment for Art Photography
The Camera Question: DSLR vs. Smartphone
Truth: Modern smartphones can produce excellent art photographs. The iPhone 15 Pro and Samsung Galaxy S24 Ultra capture images with sufficient resolution for online sales and even print reproduction.
When to invest in a DSLR:
- You're photographing artwork larger than 36" on any dimension
- You need images for print catalogs or high-resolution archival purposes
- You're shooting textured works (impasto, mixed media) where depth detail matters
For most sellers, a well-lit smartphone photo beats a poorly-lit DSLR image every time.
Tripod: The Non-Negotiable Tool
Handheld photography introduces camera shake—even slight movement creates softness that diminishes perceived quality. A tripod eliminates this problem entirely.
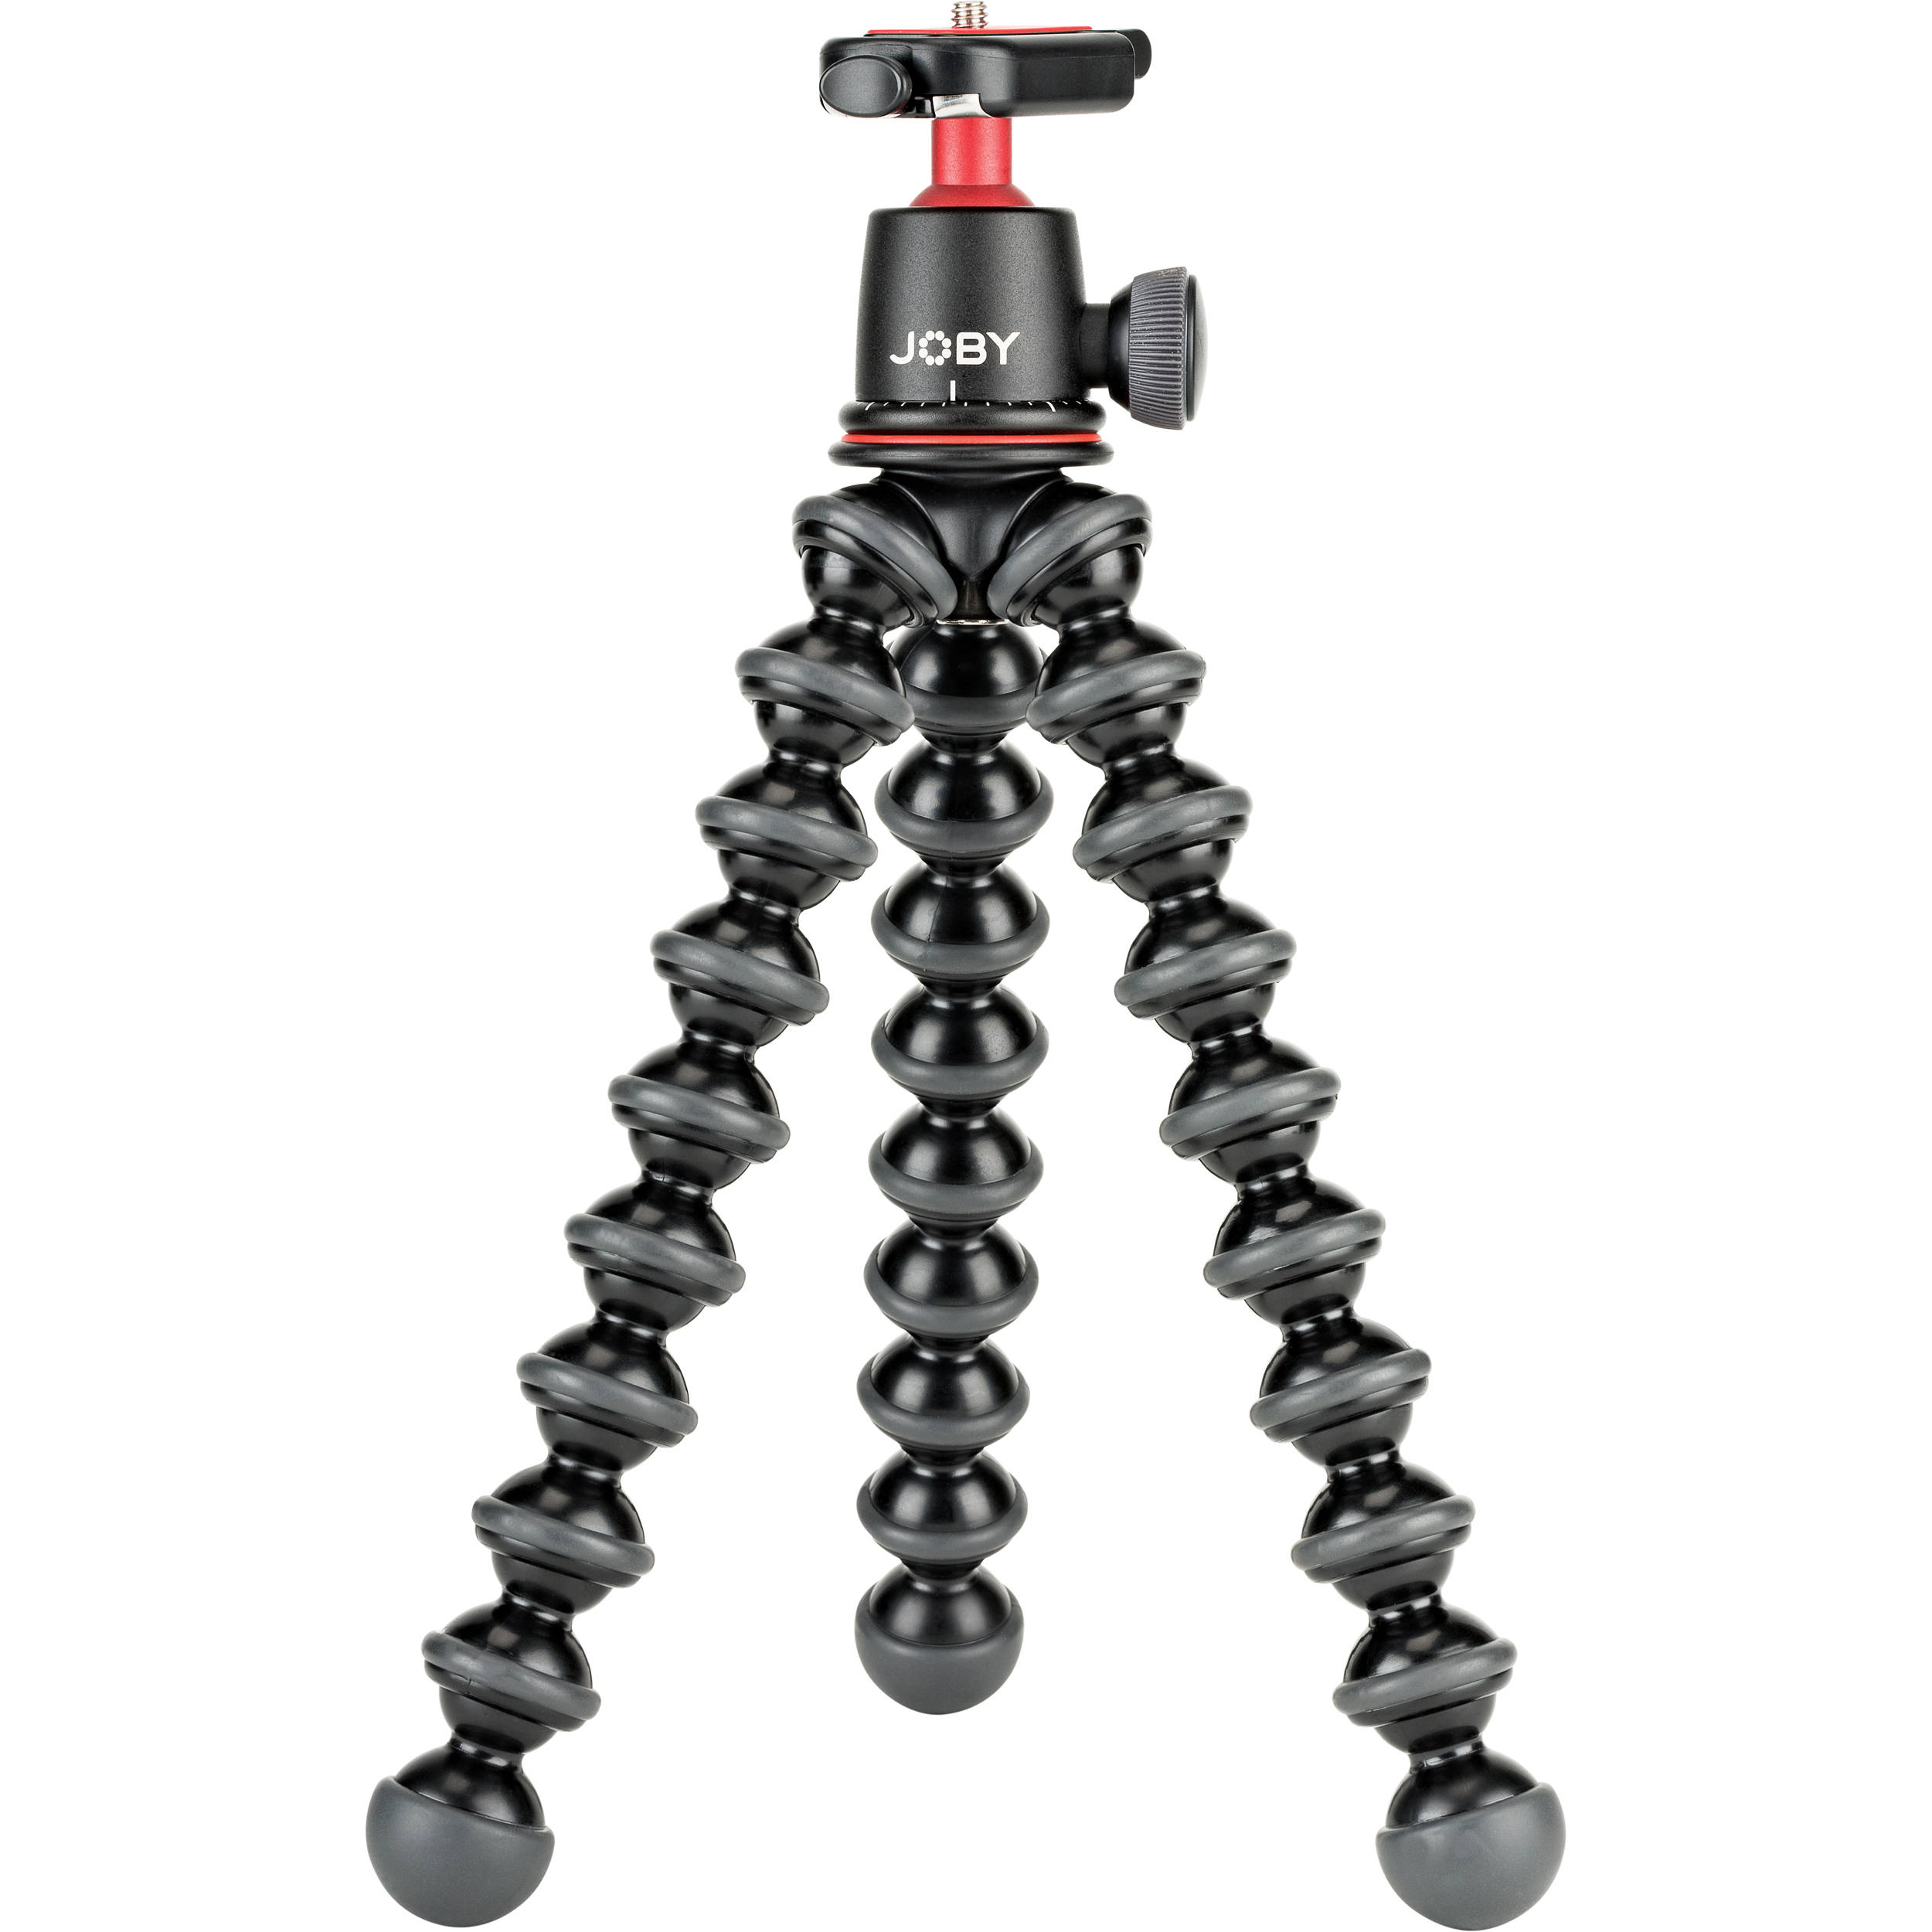
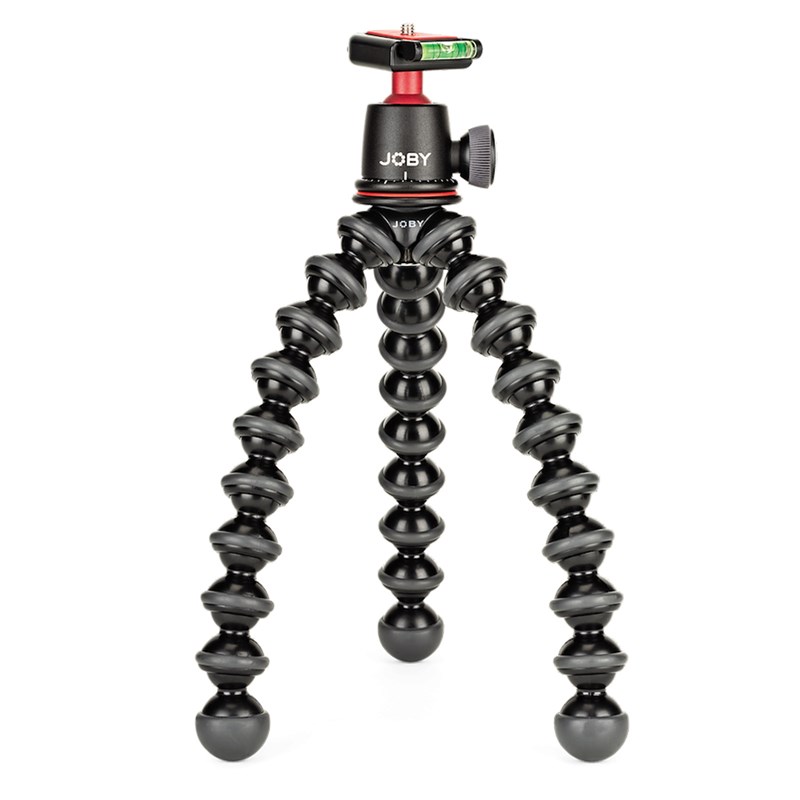
JOBY GorillaPod 3K Pro Flexible Tripod
~$90
The flexible legs allow you to wrap around surfaces or create unconventional angles. Perfect for tight spaces and adjusting to artwork height.
Check Price on Amazon Affiliate Link
85" Heavy Duty Camera Tripod
~$25
Budget-friendly option that handles most smartphone and lightweight camera setups. The adjustable height accommodates various artwork sizes.
Check Price on Amazon Affiliate LinkSmartphone Mount for Tripod Use
If you're using your phone, you need a secure mount that keeps the device perfectly level.
Xenvo SquidGrip Flexible Tripod for Smartphones
~$30
Bendable legs, Bluetooth remote included, works with all phone sizes. The remote lets you trigger shots without touching the phone—eliminating shake.
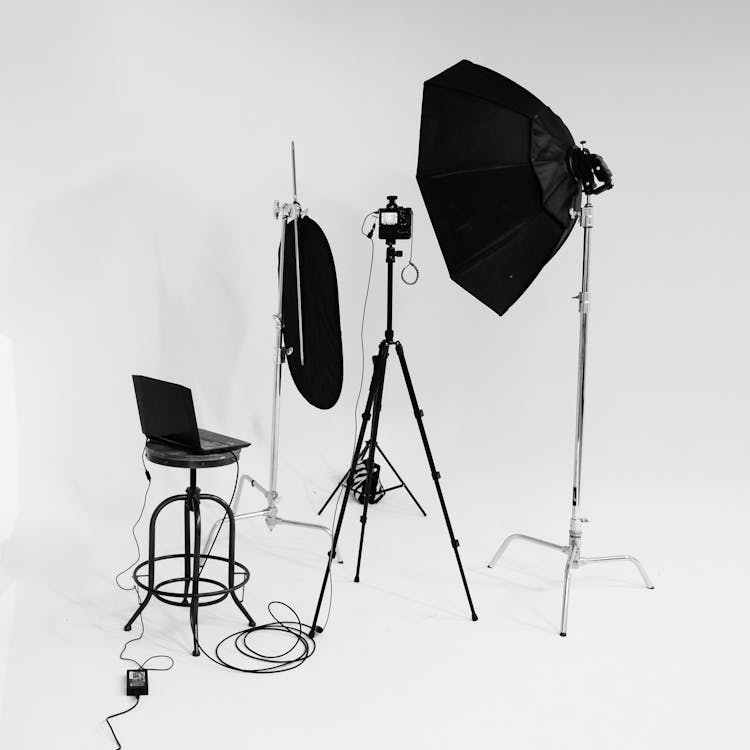
Check Price on Amazon Affiliate LinkMastering Light: The Foundation of Art Photography
Light makes or breaks art photography. The goal: even, diffused illumination that reveals color and texture without creating glare or harsh shadows.
Natural Light: Free and Effective
The best natural light for art photography:
- North-facing windows (in the Northern Hemisphere) provide consistent, indirect light
- Overcast days create nature's softbox—diffused, even illumination
- Morning or evening light offers softer qualities than harsh midday sun
Avoid:
- Direct sunlight (creates hard shadows and uneven exposure)
- Mixed lighting (different color temperatures cause color casts)
Artificial Lighting Setup
When natural light isn't available or consistent, artificial lighting gives you complete control.

NEEWER Photography Lighting Kit with Backdrops
~$140
Complete kit includes 8.5x10ft backdrop stands, 5700K LED umbrella softboxes, and 60cm reflector. Everything needed for professional art photography in one package.
Check Price on Amazon Affiliate LinkThe Two-Light Setup
Professional art photographers typically use two matched lights positioned at 45-degree angles to the artwork:
- Position lights equidistant from the artwork, at approximately 45° angles
- Match the power output between both lights for even coverage
- Use diffusion (softboxes or umbrellas) to eliminate harsh shadows
- Keep lights at artwork height to minimize gradient lighting
This setup eliminates the center "hot spot" that single-light configurations create.

RALENO Softbox Photography Lighting Kit (2-Pack)
~$80
Two 16x16 inch softboxes with 5500K LED bulbs, adjustable stands, and carrying bag. 10 brightness levels allow precise control.
Check Price on Amazon Affiliate LinkColor Temperature Consistency
All your lights must match color temperature. Mixing warm incandescent bulbs with cool daylight LEDs creates impossible-to-correct color casts.
Standard recommendation: 5500K-6500K (daylight) temperature for accurate color reproduction.
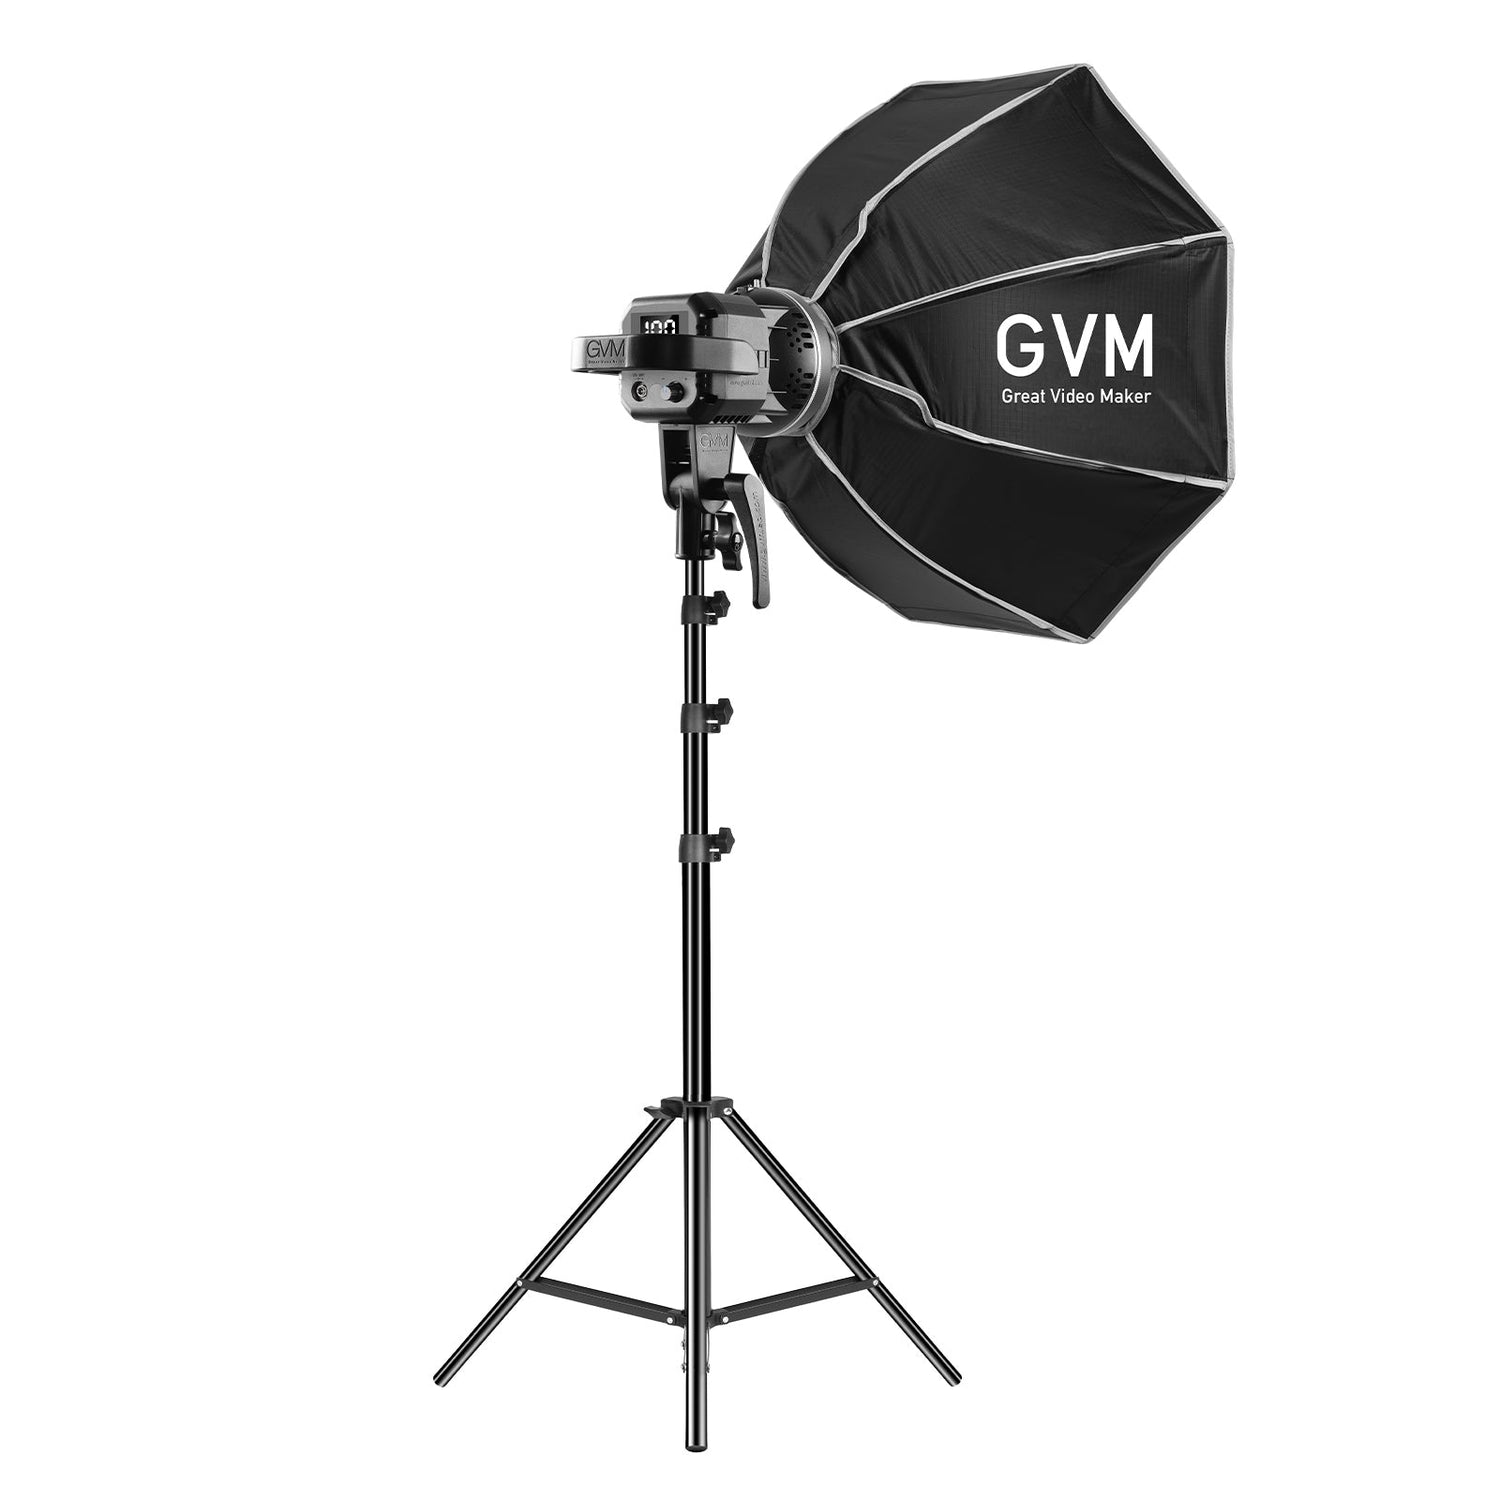
GVM 80W LED Video Light Kit
~$180
Bi-color temperature adjustment (2700K-6800K), CRI 97+ for accurate color reproduction, app-controlled. Perfect for matching any ambient conditions.
Check Price on Amazon Affiliate LinkEliminating Glare: The Framed Art Challenge
Framed artwork under glass presents a unique challenge: reflections. Even museum-quality non-reflective glass can create hotspots under improper lighting.
The Polarizing Filter Solution
A circular polarizing filter (CPL) attached to your camera lens dramatically reduces reflections from glass surfaces.
Tiffen 58mm Circular Polarizing Filter
~$30
Industry-standard filter that eliminates glass reflections. Rotate the filter while viewing through the camera to find the optimal angle. Available in all common lens thread sizes.
Check Price on Amazon Affiliate LinkCross-Polarization: The Advanced Technique
For maximum reflection control, use polarizing filters on both your lights AND your camera. This "cross-polarization" technique eliminates virtually all surface reflections.
Polarizing Filter Sheets for Lighting (Pack of 3)
~$25
Large sheets that mount in front of your light sources. Combined with a lens CPL, creates a cross-polarized setup that reveals true colors without any surface reflection.
Check Price on Amazon Affiliate LinkAlternative: Temporary Glass Removal
When filters aren't available or reflections persist, carefully remove the glass for photography. Document the proper reassembly order, and always use cotton gloves to handle glass.
Paxcoo Cotton Gloves (12 Pairs)
~$12
Essential for handling glass and artwork surfaces. Prevents fingerprints and oils from contaminating delicate surfaces during photography prep.
Austin Art Insider
Free weekly guide to galleries, exhibitions & collecting in Austin.
Color Accuracy: Capturing True Colors
Color accuracy separates amateur art photography from professional work. Buyers need to trust that what they see online matches what arrives at their door.
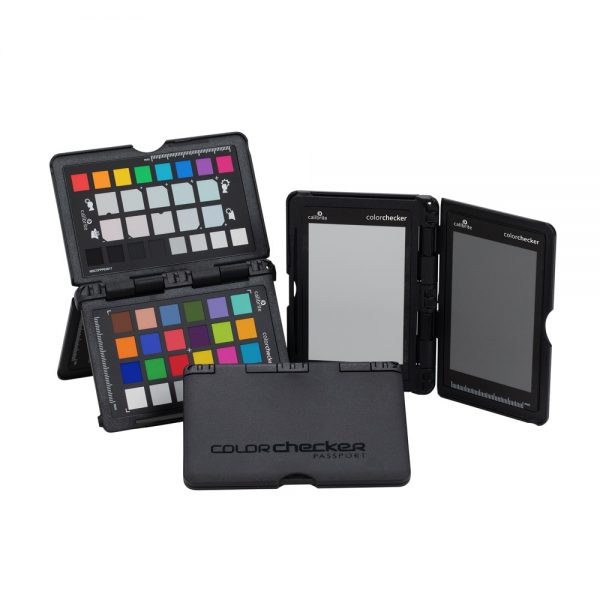
The Color Checker Card
A color checker card provides reference points that allow precise color correction in post-processing.
X-Rite ColorChecker Passport Photo 2
~$100
The professional standard. Creates custom camera profiles for accurate colors across any lighting condition. Includes white balance targets and software.
Check Price on Amazon Affiliate LinkBudget Color Reference
Datacolor SpyderCHECKR Color Calibration
~$55
Compact, durable design with 48 color patches. Creates custom camera profiles compatible with Lightroom, Photoshop, and Capture One.
Check Price on Amazon Affiliate LinkMonitor Calibration
Your color accuracy is only as good as your monitor. Even perfect photography looks wrong on an uncalibrated display.
Datacolor SpyderX Pro Monitor Calibration
~$170
Calibrates your monitor in under two minutes. Essential for color-critical work. Includes room light sensor for ambient-adjusted profiles.
Check Price on Amazon Affiliate LinkBackground and Staging
Neutral Backdrops
Backgrounds should never compete with the artwork. Neutral grays (18% gray is standard) work universally.
18%
Neutral grays ( gray is standard) work universally
Neewer 10x20ft Grey Photography Backdrop
~$35
Large enough for most artwork, seamless finish eliminates visible creases. Machine washable for long-term use.
Check Price on Amazon Affiliate LinkBackdrop Stand System
EMART Adjustable Background Stand (10x7ft)
~$40
Heavy-duty steel construction, adjustable height and width, quick assembly without tools. Accommodates large backdrops for oversized framed works.
Check Price on Amazon Affiliate LinkEasels for Display
An adjustable easel positions artwork at precise angles for optimal photography.
US Art Supply Aluminum Field Easel
~$35
Lightweight aluminum, adjusts from tabletop to 6+ feet, tilts to any angle. Portable for on-location photography.
Check Price on Amazon Affiliate LinkExamples from the Austin Gallery Collection
Let's examine how proper photography showcases the true beauty of framed artwork. These pieces from the Austin Gallery collection demonstrate the techniques discussed above.
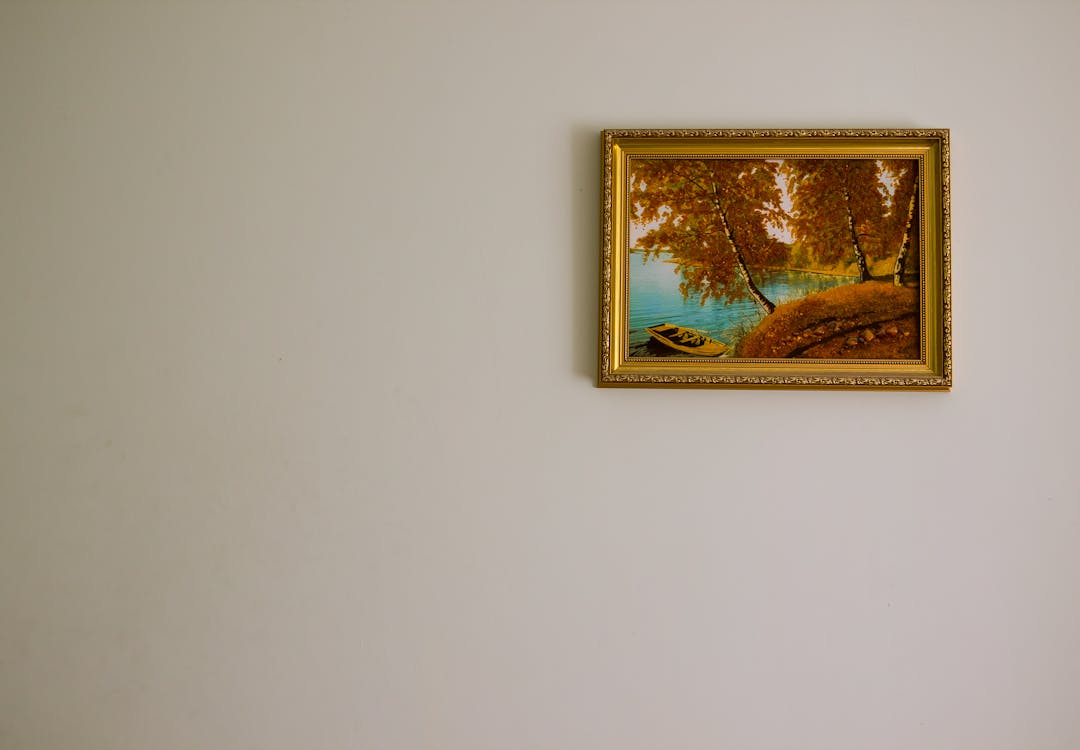
Del Swan's "Datura"
This hand-colored woodcut print by California artist Del Swan exemplifies how proper lighting reveals the delicate hand-coloring and paper texture. Notice:
- Even illumination across the entire surface
- No glare on the glass despite being framed
- True color reproduction of the subtle botanical tones
- Visible paper texture that communicates the woodcut technique
The 45-degree lighting setup reveals the subtle variations in the hand-applied colors—detail that would be lost in flat, direct lighting.
Detail photography is equally important. This close-up shows the signature and numbering clearly—authentication details that buyers need to verify.
Irving Amen's "Audience at Tivoli"
This signed and numbered woodcut from Irving Amen's oeuvre demonstrates how professional photography captures the rich contrasts and intricate line work that define the artist's style.

The signature detail shot provides authentication confidence. Collectors can clearly read the edition number (7/90) and verify the artist's signature—critical for establishing provenance and value.
Camera Settings for Art Photography
For DSLR/Mirrorless Cameras
ISO: 100-400 (lowest possible for minimal noise) Aperture: f/8 to f/11 (optimal sharpness, adequate depth of field) Shutter Speed: Whatever achieves proper exposure (with tripod, slow speeds are fine) White Balance: Custom (using gray card) or daylight (5500K) File Format: RAW (maximum editing flexibility)
For Smartphones
Use Pro/Manual mode if available:
- Lock exposure on the artwork
- Set white balance to match your lighting
- Enable RAW capture (if supported)
- Turn off HDR (creates unrealistic tone mapping)
Neewer 18-inch LED Ring Light
~$70
Bi-color LED (3200K-5600K), includes smartphone holder and tripod stand. Excellent for smaller framed works and detail shots.
Check Price on Amazon Affiliate LinkPost-Processing Essentials
Even perfect in-camera captures benefit from careful post-processing.
Lightroom / Capture One Workflow
- Apply lens profile corrections (removes barrel distortion and vignetting)
- Set white balance using the color checker card or a neutral gray in the image
- Adjust exposure so highlights aren't clipped and shadows retain detail
- Apply sharpening conservatively (Amount: 40-60, Radius: 1.0, Detail: 25)
- Crop precisely to the frame edges (or include margin if showing frame)
Perspective Correction
Keystoning (the artwork appearing to tilt or bulge) is common when the camera isn't perfectly aligned. Use the Transform tools in Lightroom to correct vertical and horizontal distortion.
Adobe Creative Cloud Photography Plan
~$10/month
Includes Photoshop and Lightroom—the industry-standard tools for art photography editing. Camera Raw profiles and lens corrections are essential for professional results.
Check Price on Amazon Affiliate LinkCreating Consistent Image Sets
Multiple images per listing increase sales. Studies show that art listings with 3-5 images receive 68% more inquiries than single-image listings.
Essential Shots for Each Piece
- Full view — The complete framed artwork, neutral background
- Detail shot — Close-up of brushwork, print technique, or notable features
- Signature — Authentication detail if signed
- Corner/frame — Shows frame condition and style
- Scale reference — Artwork next to a common object or with dimensions visible
SanDisk Extreme PRO 128GB SD Card
~$25
Fast read/write speeds for RAW capture bursts. Reliable storage that won't fail during critical photography sessions.
Check Price on Amazon Affiliate LinkCommon Mistakes and How to Avoid Them
Mistake: Mixed Color Temperature
The problem: Combining natural daylight with tungsten room lights creates impossible-to-correct color casts.
The solution: Either block all ambient light and use only your artificial setup, or shoot exclusively with natural light.
Mistake: Wrong Aspect Ratio
The problem: Camera sensors have different aspect ratios than most artwork.
The solution: Leave generous margin around the artwork when shooting, then crop precisely in post-processing.
Mistake: Visible Photographer Reflection
The problem: With glass-fronted frames, you might appear in the reflection.
The solution: Shoot at a slight angle (then correct perspective in post), wear dark clothing, or use polarizing filters.
Mistake: Dust and Debris
The problem: Dust on glass or frames becomes glaringly obvious in photographs.
The solution: Clean all surfaces immediately before shooting.
Giottos Rocket Air Blaster
~$15
Removes dust without touching surfaces. Essential for glass cleaning before photography.
Check Price on Amazon Affiliate LinkMagicFiber Microfiber Cleaning Cloths (6-Pack)
~$10
Lint-free, ultra-soft cloths for glass and frame cleaning. Won't scratch or leave residue.
Check Price on Amazon Affiliate LinkAdvanced Techniques
Focus Stacking for Depth
Large or textured artwork may exceed your camera's depth of field. Focus stacking combines multiple images focused at different depths into a single sharp image.
Helicon Focus Pro Software
~$115
Industry-leading focus stacking software. Automatically aligns and blends multiple exposures for infinite depth of field.
Check Price on Amazon Affiliate LinkTethered Shooting
Connecting your camera directly to a computer allows real-time review on a calibrated monitor—catching issues before you've struck your setup.
Tether Tools TetherPro USB-C Cable (15ft)
~$45
High-visibility orange cable, secure connection, 15-foot length provides flexibility. Compatible with most modern cameras and tethering software.
Check Price on Amazon Affiliate LinkHigh-visibility orange cable, secure connection, 15-foot length provides flexibility.
Building Your Art Photography Kit
Starter Kit (~$200)
- Smartphone with decent camera
- Amazon Basics tripod ($25)
- Xenvo SquidGrip mount ($30)
- RALENO softbox 2-pack ($80)
- Neewer grey backdrop ($35)
- MagicFiber cleaning cloths ($10)
Intermediate Kit (~$500)
All starter items plus:
- Datacolor SpyderCHECKR ($55)
- Tiffen polarizing filter ($30)
- EMART backdrop stand ($40)
- US Art Supply easel ($35)
- Neewer ring light ($70)
Professional Kit (~$1,000+)
All intermediate items plus:
- DSLR or mirrorless camera body
- 50mm prime lens (excellent for art)
- GVM LED video lights ($180)
- X-Rite ColorChecker Passport ($100)
- Datacolor SpyderX Pro ($170)
- Tethering cable ($45)
Final Thoughts: Photography as Sales Investment
The time and equipment invested in proper art photography pays returns with every listing. Professional-quality images:
- Build buyer confidence — Customers trust what they can clearly see
- Reduce return rates — Accurate representation prevents disappointment
- Support higher pricing — Quality presentation justifies premium positioning
- Create brand consistency — Cohesive imagery establishes professionalism
Whether you're photographing a single piece for consignment or building inventory for a gallery, the techniques in this guide will ensure your artwork looks as stunning online as it does in person.
Have questions about photographing your artwork? Contact us at director@austingallery.org.
Pro Tip
Include a color checker card in one reference shot. It lets buyers (and you) verify the colors are accurate to the original.


