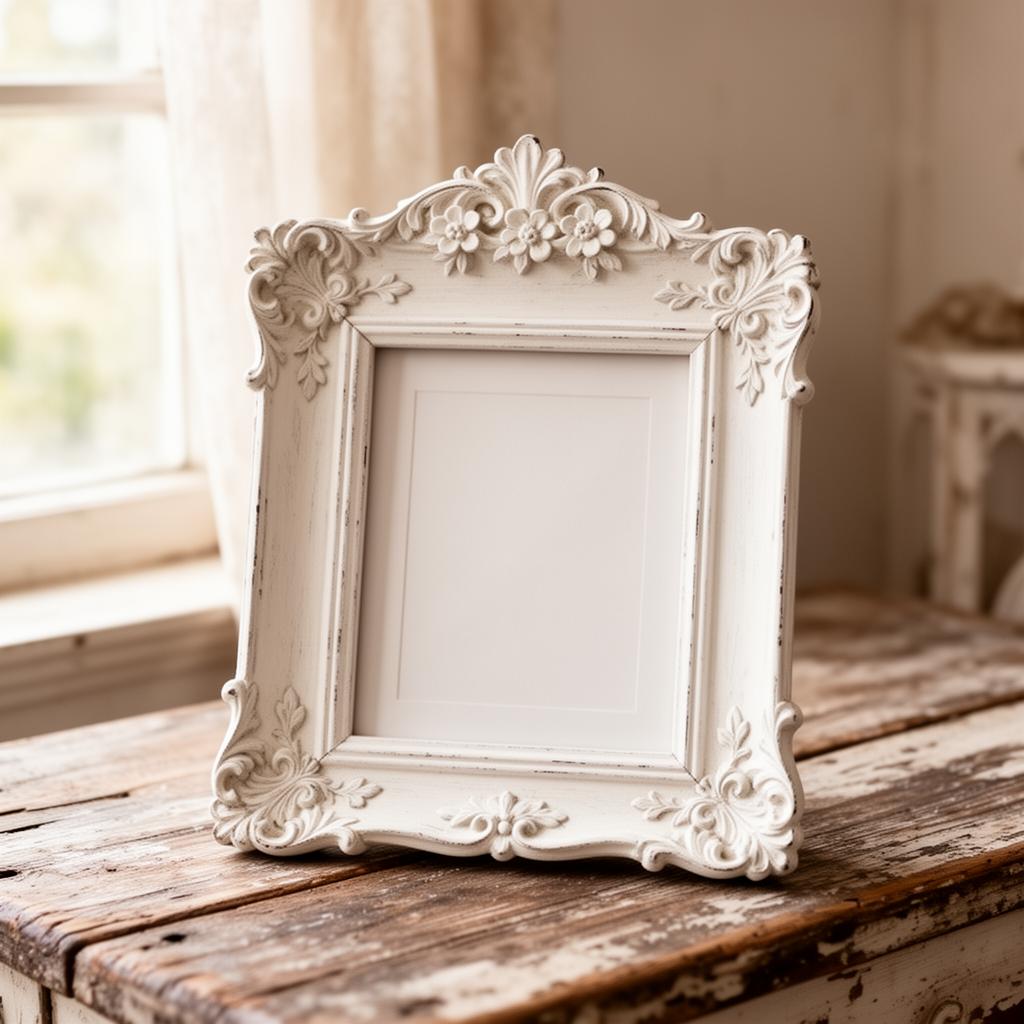
Every serious art collector knows the frustration: you've discovered a magnificent vintage frame at a thrift store or estate sale, but years of neglect have left it looking tired, chipped, or hopelessly dated. Perhaps it's an ornate gilt frame with faded gold, a solid wood frame with water stains, or a Victorian-era piece crying out for restoration. Before you pass it by or consign it to the donation pile, consider this: with the right techniques and a few hours of work, that neglected frame can become a stunning showcase for your art collection.
In This Article
- Why Restore Old Frames Instead of Buying New?
- Essential Supplies for Frame Restoration
- Step 1: Assessing Your Frame's Potential
- Step 2: Disassembly and Cleaning
- Step 3: Making Repairs
- Technique 1: The Antique Gold Gilded Look
- Technique 2: Shabby Chic Distressed Finish
- Technique 3: Modern Solid Color Transformation
- Technique 4: Creative Upcycling Ideas
- Finishing and Protecting Your Work
- Troubleshooting Common Problems
- Expert Tips for Professional Results
- Where to Find Frames Worth Restoring
- Conclusion: The Art of Seeing Potential
- Sources and Further Reading
Key Takeaways
- Most old frames can be restored at home with basic supplies — no professional needed for minor damage
- Clean gently first: a soft brush and mild soap often reveal beauty hidden under decades of grime
- Gold leaf touch-ups, wood filler, and careful repainting can save frames that look beyond repair
- A restored vintage frame adds character and value that new frames can't match
This comprehensive guide draws from museum conservation practices, professional framer techniques, and creative DIY approaches to help you transform any old frame into a gallery-worthy piece. Whether you prefer the elegant sheen of antique gold gilding, the romantic appeal of shabby chic distressing, or a completely modern reinvention, you'll find detailed instructions, expert tips, and specific product recommendations to achieve professional results.
Photo: Semanur Çoban / Pexels
Why Restore Old Frames Instead of Buying New?
The economics of frame restoration are compelling. A solid wood vintage frame that costs $3-8 at a thrift store can be transformed into something that looks nearly identical to frames selling for $75-200 at home decor retailers. But beyond the financial argument, there are several reasons why restoration makes sense for discerning collectors.
A solid wood vintage frame that costs $3-8 at a thrift store can be transformed into something that looks nearly identical to frames selling for $75-200 at home decor retailers.
Superior construction quality: Vintage frames, particularly those from the mid-20th century and earlier, were often built from solid hardwoods with hand-carved details and robust joinery. Mass-produced modern frames typically use lightweight composite materials, plastic moldings, and fragile construction that deteriorates quickly. According to Frame Destination, a leading professional framing resource, "older frames have more charm and character" and "are made very well and can last a long time."
Environmental responsibility: Upcycling existing frames keeps materials out of landfills and reduces demand for new manufacturing. As At Home With Ashley notes in her extensive frame restoration guide, "giving a frame a second life keeps it out of the landfill and reduces the demand for new materials."
Unique character: Vintage frames offer design details, proportions, and ornamental elements that simply aren't available in contemporary production. An authentically aged patina or hand-carved flourish adds irreplaceable character to your art presentation.
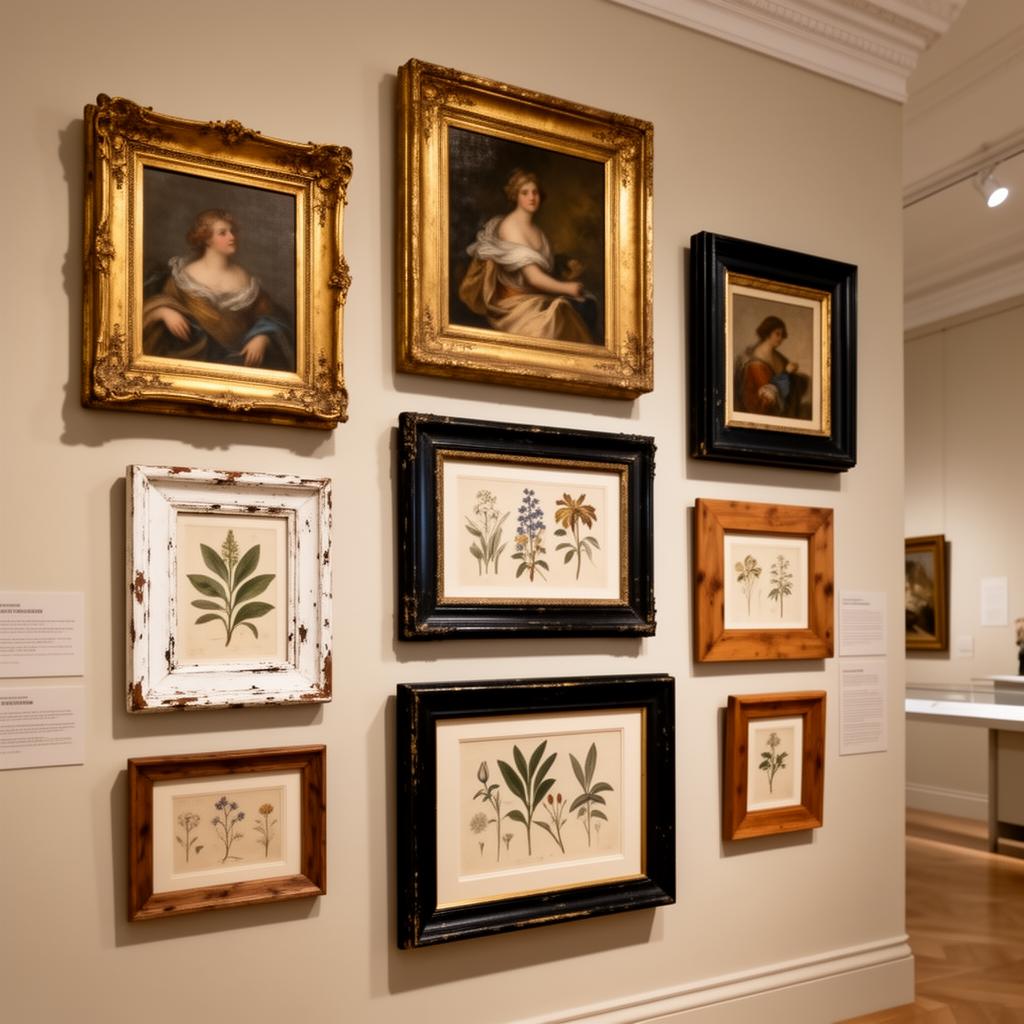
Perfect for building a gallery wall: When creating a curated gallery wall of different sized artworks, having frames in varied styles but cohesive finishes creates visual harmony. Restored vintage frames provide the variety you need while maintaining a unified aesthetic.
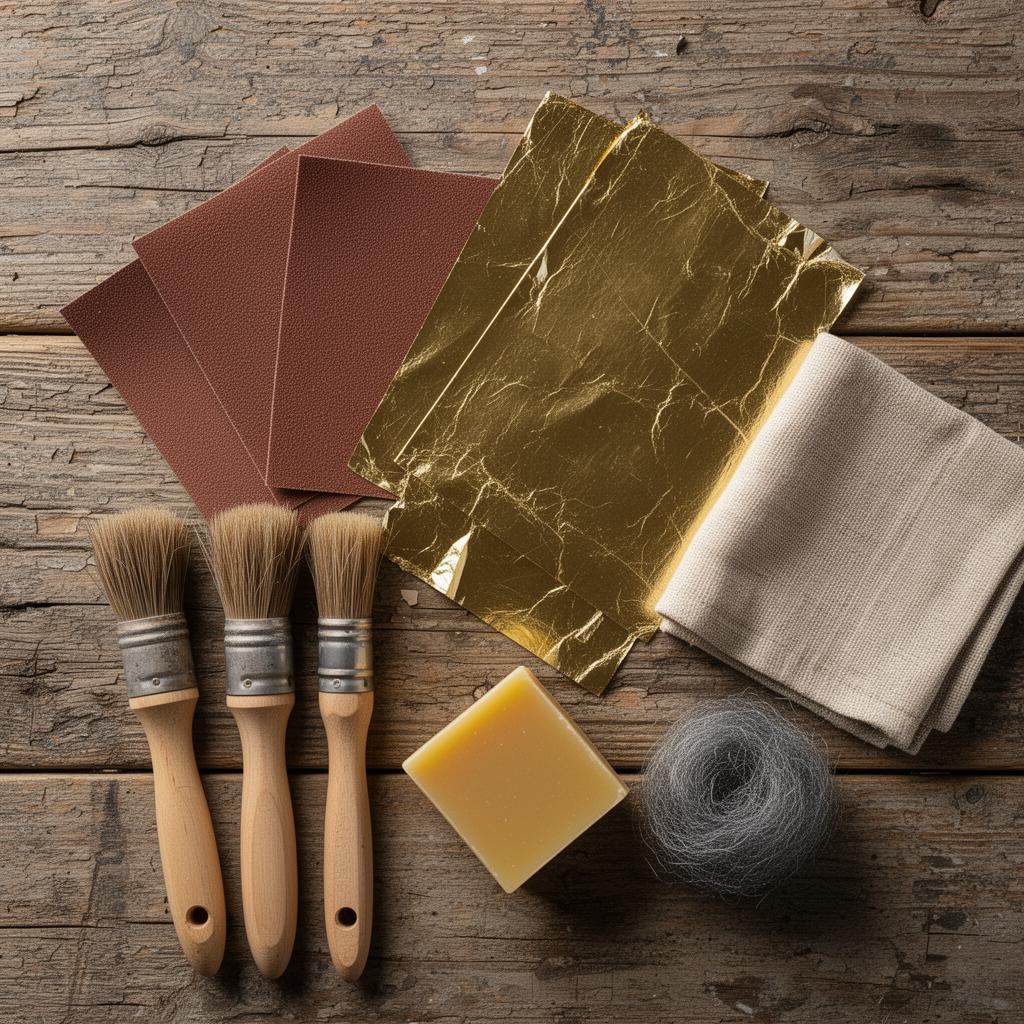
Essential Supplies for Frame Restoration
Before diving into technique, gather your materials. The specific supplies you'll need depend on your chosen finish, but this comprehensive list covers most restoration approaches.
Cleaning and Prep Supplies
Pro Tip
Test any cleaning solution on the back or an inconspicuous area first. Some gilt finishes are water-soluble and can be damaged by aggressive cleaning.
- Soft cloths and cotton swabs: For initial cleaning and getting into carved details
- Mild soap solution: Murphy's Oil Soap diluted in water works well for wood frames
- 3M Fine Grit Sandpaper Pack: 150-grit to 220-grit for surface prep ($12)
- Tack cloth: Removes all dust before painting
- Drop cloth or craft paper: Protects your work surface
Paint and Finish Options
- Rust-Oleum Chalk Paint: The gold standard for shabby chic finishes, adheres to most surfaces without primer ($15)
- Rub n Buff Antique Gold: Professional-grade metallic wax for authentic gilded looks ($8)
- AMACO Rub n Buff Variety Pack: Includes gold, silver, bronze, and patina finishes ($24)
- Deco Art Americana Decor Wax: Creme wax in deep brown for aging effects ($9)
- Spray primer: Kilz or Zinsser for difficult surfaces
- Gold Leaf Sheets 100-Pack: For traditional gilding technique ($15)
Application Tools
- Chip Brushes: Stiff natural bristle brushes ideal for wax application and distressing ($8 for 12-pack)
- Foam Brush Set: Provides smooth, brush-mark-free paint application ($10 for 25)
- Detail brushes: For getting into carved ornamental areas
- Lint-free rags: Old t-shirts work perfectly for buffing wax finishes
Repair and Finishing
- Elmer's Wood Glue: For loose joints and minor repairs ($6)
- E6000 Craft Adhesive: Industrial strength for reattaching broken ornaments ($8)
- Wood filler or spackling paste: Fills chips, gouges, and small missing sections
- Minwax Polycrylic Sealant: Clear protective finish for painted frames ($12)
- OOK Picture Hangers: Professional-grade hanging hardware ($9)
Step 1: Assessing Your Frame's Potential
Not every thrift store frame is worth the effort. Before committing to a restoration project, evaluate these key factors.
What to Look For When Thrifting Frames
Solid construction: Gently wiggle the corners. Minor looseness can be glued, but frames that are falling apart may not be worth saving. Press on the center of long sides; solid wood should feel sturdy, not flexible.
Good bones: Look past ugly finishes and focus on the frame's profile and proportions. Ornate carved details, interesting molding profiles, and generous widths all indicate potential.
Appropriate size: Consider what artwork you'll frame. Unusual sizes can be challenging to find mats and glass for. Standard sizes (8x10, 11x14, 16x20, 18x24) are most versatile.
Material quality: Solid wood frames are ideal. Resin or composite frames can be painted but may not accept wax finishes or distressing as well.
Red Flags to Avoid
- Deep cracks running along the grain (indicates structural weakness)
- Significant woodworm damage (small holes covering large areas)
- Water damage that has caused warping
- Missing large sections of ornamental detail
- Plastic frames disguised as wood (scratch a hidden spot to test)
Step 2: Disassembly and Cleaning
Proper preparation is crucial for achieving professional results. Take your time with this step—it will make everything else easier.
Disassembling the Frame
- Work on a padded surface to prevent scratches
- Remove the backing: If secured with small nails or glazier's points, use a flathead screwdriver to gently pry them up. Work slowly to avoid cracking the wood.
- Remove the glass carefully: Vintage glass is often thin and brittle. Wear gloves and dispose of broken pieces safely.
- Remove old mats: These can often be reused if in good condition, or replaced with fresh archival mat board.
- Note the assembly order: Take photos as you work so you can reassemble correctly.
Deep Cleaning Techniques
For dusty frames: Start with a soft brush or vacuum with brush attachment to remove loose dirt from carved details. Follow with a slightly damp cloth.
For grimy wood frames: According to The Rural Legend's restoration guide, most thrifted frames are "super dusty and dirty." Create a solution of warm water with a few drops of mild dish soap. Dampen a cloth (never soak), wipe surfaces, and immediately dry with a clean cloth.
For glass: Soak in warm soapy water for 10-15 minutes to loosen grime, then clean with glass cleaner and dry completely. If the glass is significantly scratched, consider replacement.
For ornate details: Use cotton swabs dampened with cleaning solution to reach into carved recesses. This step is tedious but essential for proper paint adhesion.
Step 3: Making Repairs
Most vintage frames need at least minor repairs before refinishing. Address these issues now for the best final results.
Tightening Loose Joints
Loose corners are extremely common in old frames. For minor wobble:
- Apply wood glue into the joint using a thin applicator or syringe
- Clamp the corner firmly using corner clamps or a strap clamp
- Wipe away excess glue immediately with a damp cloth
- Allow to cure fully (24 hours) before continuing
For severely loose joints, you may need to completely disassemble the corner, scrape away old glue, and reassemble fresh.
Filling Chips and Gouges
Small imperfections add character, but significant damage should be repaired:
- For shallow chips in wood: Use wood filler that matches your final finish color
- For deeper gouges: Build up in layers, allowing each to dry completely
- For missing ornamental pieces: Use two-part epoxy sculpting compound to recreate details, or source matching ornaments from craft stores
- Sand repairs smooth once fully cured, blending into surrounding surfaces
Reattaching Loose Ornaments
Ornate frames often have applied decorative elements that have detached:
- Clean both surfaces to remove old adhesive residue
- Apply E6000 adhesive sparingly—a little goes a long way
- Press firmly into position and hold for 60 seconds
- Use painter's tape to hold in place while curing (24-72 hours for full strength)
Technique 1: The Antique Gold Gilded Look
This technique transforms ordinary frames into pieces that look like genuine antique gilded frames worth hundreds of dollars. It's particularly effective on ornate frames with carved details.
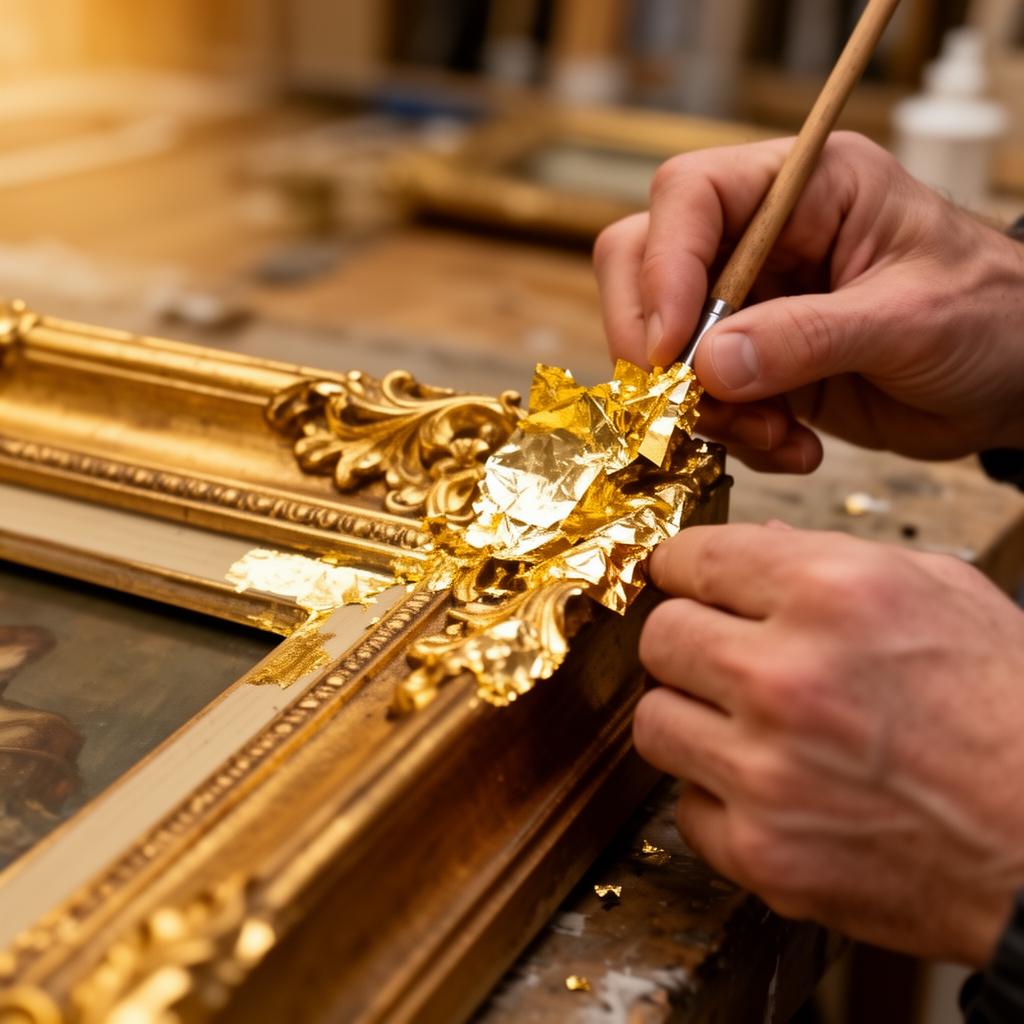
The Rub n Buff Method
This approach, refined by experienced frame restorers, uses metallic wax applied over a dark base coat to create an authentically aged gilded appearance.
Step 1: Apply a dark base coat
The secret to realistic gold gilding is starting with a dark foundation. Spray paint the entire frame with a flat black or dark brown paint. This will show through in the recesses of carved details, mimicking the natural aging of antique gilt frames.
Let dry completely (at least 2 hours, preferably overnight).
Step 2: Apply Rub n Buff in Antique Gold